Web App Development Using Python and Flask Part 01
Hello Friends.
As I have mentioned in my last post, we are going to learn how to create a simple Web App using Python and Flask.
If you have not visited my posts on Python and Flask, please find the links below -
Even in this tutorial, we'll use the Flask framework, as we did so far, to create our simple web application.
Let's get started.
We can find below components in a typical web application -
1. Static images and HTML pages
2. CSS
3. Dynamic Contents
4. Form submit/actions
5. DB Integration
In this tutorial we are going to learn how to setup a web application and how to handle the form submit.
First, we'll create a directory structure for our web application. Please setup the directory structure as shown below -
 |
Directory Structure |
.header {
  border: 2px solid black;
  background-color: lightblue;
  margin: 20px;
  padding: 20px;

}

ul.b {
    padding: 20px;
    length:300px;
    width: 200px;
    list-style-type: none;
    color: green;
    face:Helvetica;
}

a {
    text-decoration: none;
}

a:link {
    color: green;
}

a:visited {
    color: green;
}

a:hover {
    font-weight: bold;
    color: blue;
}
Above is the content of that file. It's a very simple css file having some simple styles.2. IMAGES : In this directory, I have put all my images which I have used in this project. You can have your image files in this directory.3. WEBPAGES : This will have all the html files which are required in this project. For this tutorial we'll need 2 of these html files, index.html and landing.htmlindex.html<!DOCTYPE html>
<html lang="en">
<head>
<link rel="stylesheet" type="text/css" href="./../static/css/all.css">
<meta charset="UTF-8">
<title>Pixie Dust</title>
</head>
<body style="background-color:#D3D3D3;">
<div class = "header">
<center><b><i><u><font color = "Red" size="18"> Pixie Dust </font></u></i></b></center>
<center><font color = "Blue" size="5"> Your One Stop Solution For All Ladies Wear and Accessories !!! </font></center>
</div>
<div>
<center><table border="1px" width="1225">
<tr>
<td><center><img src="./static/images/index1.jpg" alt="Index1 Image" height="200", width="450"></center></td>
<td><center><img src="./static/images/index4.jpg" alt="Index2 Image" height="200", width="450"></center></td>
<td bgcolor="lightblue">
<form action = "/landing" method = "POST">
<table>
<tr>
<td>Username</td>
<td><input type = "text" name = "username"></td>
</tr>
<tr>
<td>Password</td>
<td><input type = "password" name = "password"></td>
</tr>
<tr>
<td><span></span></td>
<td><input type = "Submit" value = "Submit">
<input type = "Button" value = "Cancel" align="left"></td>
</tr>
</table>
<table>
<tr>
<td><font color = "Red">{{error_msg}}</font></td>
</tr>
</table>
</form>
</td>
</tr>
<tr>
<td><center><img src="./static/images/index3.jpg" alt="Index3 Image" height="200", width="450"></center></td>
<td><center><img src="./static/images/index5.jpg" alt="Index2 Image" height="200", width="450"></center></td>
<td>Shop No. - 4, Ground Floor <br>Classic Plaza, Vadgaon-Shinde Road <br> Lohegaon Pune, Maharashtra <br> India. 411015</td>
</tr>
</table></center>
</div>
</body>
</html>landing.html<!DOCTYPE html>
<html lang="en">
<head>
<link rel="stylesheet" type="text/css" href="./../static/css/all.css">
<meta charset="UTF-8">
<title>Pixie Dust</title>
</head>
<body style="background-color:#D3D3D3;">
<div class = "header">
<center><b><i><u><font color = "Red" size="18"> Pixie Dust </font></u></i></b></center>
<center><font color = "Blue" size="5"> Your One Stop Solution For All Ladies Wear and Accessories !!! </font></center>
</div>
<div>
<table border="1px" width="1225" align="center">
<tr>
<td bgcolor="#AAEBEE">
<ul class = "b">
<li> </li>
<li><a href="/products"> Products </a></li>
<li> </li>
<li><a href="/products"> Orders </a></li>
<li> </li>
<li><a href="/products"> Billing </a></li>
<li> </li>
<li><a href="/products"> Sales </a></li>
<li> </li>
<li><a href="/products"> Trip </a></li>
<li> </li>
<li><a href="/products"> Expense </a></li>
<li> </li>
<li><a href="/products"> Inventory </a></li>
<li> </li>
<li><a href="/products"> Report </a></li>
<li> </li>
<li><a href="/products"> E-Mail </a></li>
<li> </li>
<li><a href="/"> Logout </a></li>
<li> </li>
</ul>
</td>
<td width="100%" bgcolor="#DEF9CD">
<font color="#D417F5" size="5" face="Monaco"><center>Welcome to Pixie Dust Management Portal.</center>
<br>
Today's date is {{ current_date }}.
<br>
Have a Good Day !!!</font>
</font></td>
</tr>
</table>
</div>
</body>
</html>app.pyfrom flask import Flask, render_template, request
from datetime import date
import os
PICS_DIR = os.path.join('static', 'images')
app = Flask(__name__, template_folder='webpage')
app.config["DEBUG"] = True
@app.route("/", methods=["GET"])
@app.route("/index", methods=["GET"])
def index():
return render_template("index.html")
@app.route("/landing", methods=["POST", "GET"])
def landing():
if request and request.form:
username = request.form['username']
password = request.form['password']
if username == 'testuser' and password == 'testpass':
print(date.today().weekday())
today = date.today().strftime("%d/%m/%Y")
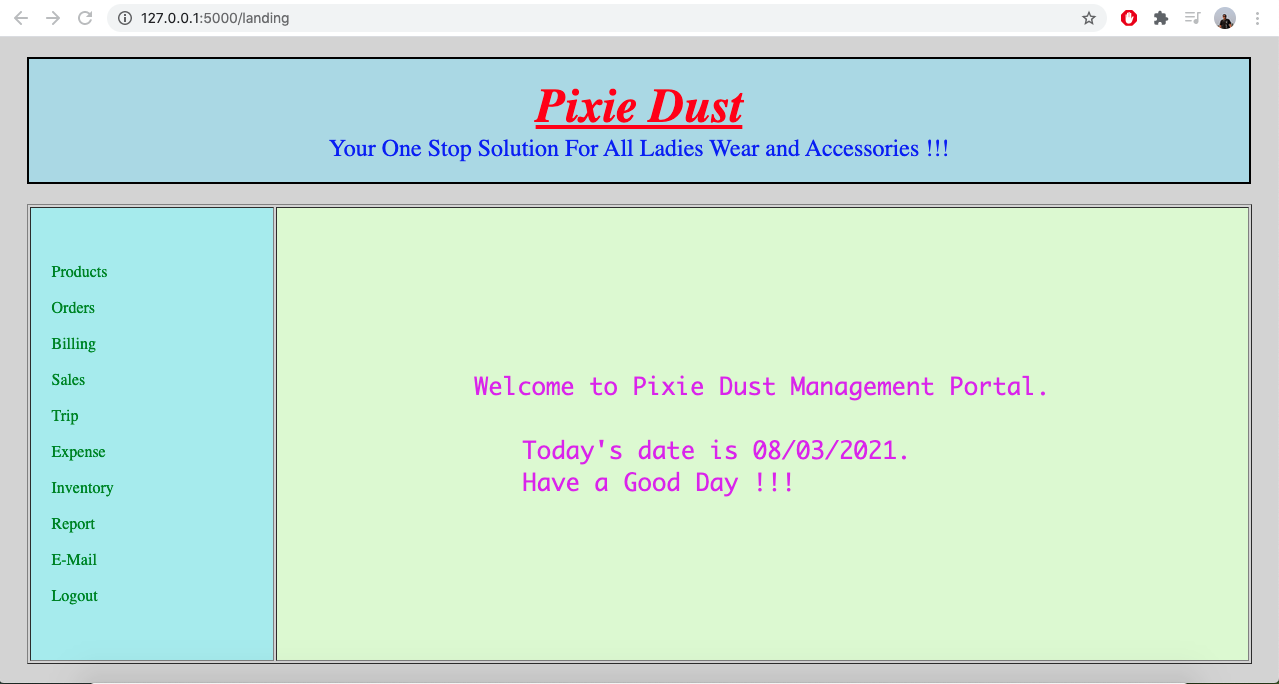
return render_template("landing.html", current_date = today)
msg = 'Invalid username or password'
return render_template("index.html", error_msg = msg)
if __name__ == "__main__":app.run()Run the app.py by executing the below command in your console
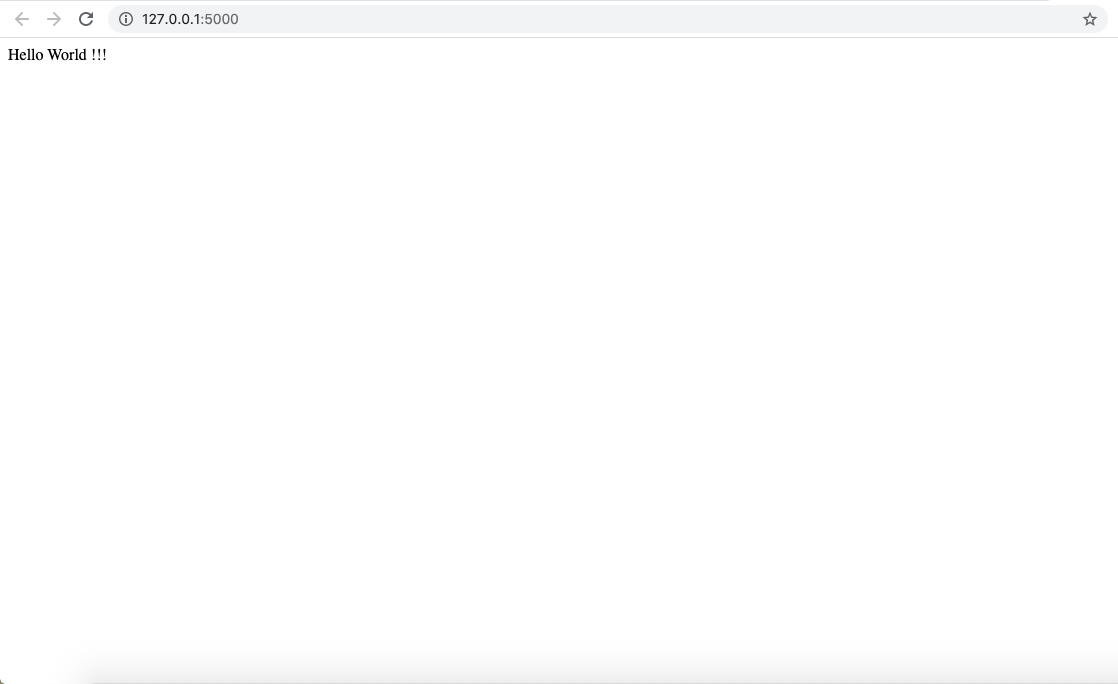
$ python app.py
* Running on http://127.0.0.1:5000/ (Press CTRL+C to quit)
* Restarting with stat
* Debugger is active!
You can access the web application by clicking on the link http://127.0.0.1:5000/
In the above file we have defined 3 routes -1. /2. /index3. /landing/ and /index are defined on the same method index(). So, whenever someone will hit http://127.0.0.1:5000/or http://127.0.0.1:5000/index, that person will be directed to the index page.In the index() method we have used a method render_template(). This method will take the resource nameas input and render it to user. In our case, we want it to render html page index.html.
index.html /landing route is defined on the method landing() and it takes either POST or GET request (depends on theuse-case). Here we are validating whether we are having request object and do we have form dictionary inrequest. This form data will be passed from the client. After that we are extracting username and passwordfrom the form and validating it against a hard coded value. In real life scenario we'll validate it against aDB or LDAP or any other data store. In the next tutorial, we'll learn how to do DB integration in Python.Once the validation is successful we shall redirect the user to landing page.
landing.html In case of validation failure, error message will be shown and user will be redirected to index page again.
login failed That's it !!!
Please leave a comment if you face any problem while running this tutorial.
I'll try to reply that as soon as possible.
Hope you have liked this tutorial.In the next tutorial we'll learn how to do DB integration in Python.


Thanks Diwakar for this tutorial.
ReplyDeleteGood one Diwakar..!!
ReplyDeleteVery nice tutorial....Easy to understand and pretty well informative to handson
ReplyDelete